FAQ is provided to troubleshoot your problem while using TOTOLINK products.
You can enter keywords to find solution to your issue. Search by entering Keywords and selecting a product
제품 사용 중 궁금한 사항과 자주 묻는 질문에 대한 답변을 제공합니다.
키워드 검색 또는 제품 선택을 통해 관련 내용을 확인하실 수 있습니다.


| NO | Title | Updated | Download | |||||||||||||||||||
| 31 | N350RT Quick Installation Guide | 2020-04-29 12:32 |  |
|||||||||||||||||||
STEP-1: Activate the WLAN function on your Phone and connect to TOTOLINK_N350RT. Then run any Web browser and enter http://itotolink.net in the address bar.
STEP-2: Enter admin for the password and then click LOGIN.
STEP-3: Click Quick Setup.
STEP-4: Time Zone setting. According to your location, please click the Time Zone to choose a correct one from the list, then click Next.
STEP-5: Internet Setting. Choose a suitable connection type from the list and fill in the information required, then click Next.
STEP-6: Wireless Setting. Create passwords for 2.4G and 5G Wi-Fi (Here users could also revise the default Wi-Fi name) and then click Next.
STEP-7: For security, please create a new Login Password for your router, then click Next.
STEP-8: The coming page is the Summary information for your setting. Please remember your Wi-Fi Name and Password, then click Done.
STEP-9: It takes several seconds to save the settings and then your router will restart automatically. This time your Phone will be disconnected from the router. Please back to the WLAN list of your phone to choose the new Wi-Fi name and input the correct password. Now, you could enjoy the Wi-Fi.
STEP-10: More features: Click Application.
STEP-11: More features: Click Tools.
STEP-1: Connect your computer to the router by cable or wireless. Then run any Web browser and enter http://itotolink.net in the address bar. STEP-2: Enter admin for the password and then click LOGIN.
STEP-3: Click Quick Setup.
|
||||||||||||||||||||||
| 32 | A7100RU Quick Installation Guide | 2020-04-29 11:22 | |
|||||||||||||||||||
STEP-1:Connect your computer Activate the WLAN function on your Phone and connect to TOTOLINK_A7100RU or TOTOLINK_A7100RU_5G. Then run any Web browser and enter http://itotolink.net in the address bar.
STEP-2: Enter admin for the password and then click LOGIN.
STEP-3: Click Quick Setup.
STEP-4: Time Zone setting. According to your location, please click the Time Zone to choose a correct one from the list, then click Next.
STEP-5: Internet Setting. Choose a suitable connection type from the list and fill in the information required, then click Next.
STEP-6: Wireless Setting. Create passwords for 2.4G and 5G Wi-Fi (Here users could also revise the default Wi-Fi name) and then click Next.
STEP-7: For security, please create a new Login Password for your router, then click Next.
STEP-8: The coming page is the Summary information for your setting. Please remember your Wi-Fi Name and Password, then click Done.
STEP-9: It takes several seconds to save the settings and then your router will restart automatically. This time your Phone will be disconnected from the router. Please back to the WLAN list of your phone to choose the new Wi-Fi name and input the correct password. Now, you could enjoy the Wi-Fi.
STEP-10: More features: Click Application.
STEP-11: More features: Click Tools.
STEP-1: Connect your computer to the router by cable or wireless. Then run any Web browser and enter http://itotolink.net in the address bar. STEP-2: Enter admin for the password and then click LOGIN.
STEP-3: Click Quick Setup.
|
||||||||||||||||||||||
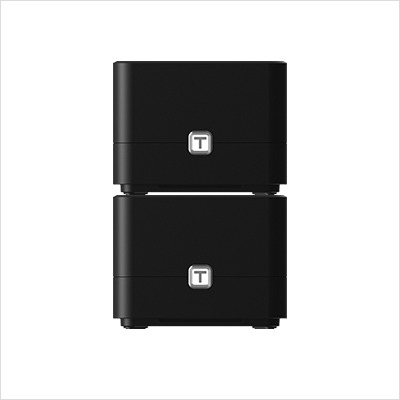
| 33 | T10 Updated Quick Setup Guide | 2020-04-29 11:09 | |
|||||||||||||||||||
Package Contents •1 T10 Master •2 T10 Satellites •3 Power Adapters •3 Ethernet Cables Steps 1.Remove the power cord from your modem. Wait 2 minutes. 2.Insert an ethernet cable into your modem. 3.Connect ethernet cable from modem into the yellow WAN port of the T10 labeled Master. 4.Power on your modem and wait until it is fully booted. 5.Power on the Master and wait until status LED is blinking green. 6.Connect to the Master’s SSID labeled TOTOLINK_T10 or TOTOLINK_T10_5G. Password is abcdabcd for both bands. 7.Once successfully connected to the Master and able to access the Internet, please change the SSID and password to that of your choosing for security reasons. Then you can position the 2 sateIIites throughout your home. Note: The color of the sateIIite’s status LED acts as a signal strength indicator. Green/Orange = Excellent or OK signal Red = Poor signal, needs to be moved closer to the Master FAQs How to set my own SSID and Password? 1.Connect to the Master using a wired or wireless connection. 2.Open a web browser and enter http://192.168.0.1 into the address bar. 3.Enter User Name and Password and click Login. Both are admin by default in lowercase letters. 4.Enter your new SSID and Password within the Easy Setup Page for both 2.4Ghz and 5Ghz bands. Then click AppIy. Note: The default access address is located on the bottom of each unit. However, this may vary de- pending on your network configuration. In most cases, if this address does not work you may try the alternate address 192.168.1.1. Also, check your Wi-Fi settings to make sure you are connected to the router you are trying to configure. |
||||||||||||||||||||||
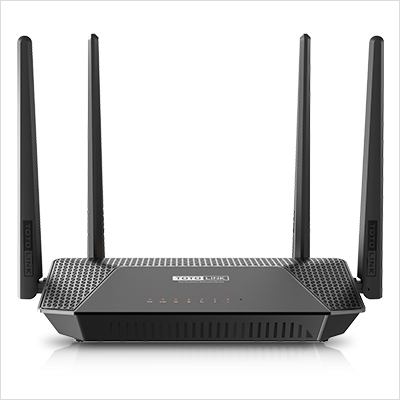
| 34 | A3002RU-V2 Quick Installation Guide | 2020-04-29 10:46 | |
|||||||||||||||||||
STEP-1: Find TOTOLINK_A3002RU or TOTOLINK_A3002RU_5G on the WLAN list of your Phone, and choose to connect. Then any Web browser on your Phone and enter http://itotolink.net on the address bar.
STEP-2: Enter admin for the password and then click LOGIN.
STEP-3: Click Quick Setup.
STEP-4: Time Zone setting. According to your location, please click the Time Zone to choose a correct one from the list, then click Next.
STEP-5: Internet Setting. Choose a suitable connection type from the list and fill in the information required, then click Next.
STEP-6: Wireless Setting. Create passwords for 2.4G and 5G Wi-Fi (Here users could also revise the default Wi-Fi name) and then click Next.
STEP-1: Connect your computer to the router by cable or wireless. Then run any Web browser and enter http://itotolink.net in the address bar. STEP-2: Set a new login password for the device, it is recommended to set the password with alphanumeric characters and then press Install.
STEP-3: Click Quick Setup.
STEP-4: Click on "Auto Detect" to detect the Wan Type in your network.
STEP-5: Now you can see the Easy Setup page. All basic settings could be done here, including Internet Settings and Wireless Settings.
|
||||||||||||||||||||||
| 35 | LR1200-V2 Quick Installation Guide | 2020-04-27 18:30 | |
|||||||||||||||||||
STEP-1: Activate the WLAN function on your Phone and connect to TOTOLINK_LR1200 or TOTOLINK_LR1200_5G. Then run any Web browser and enter http://itotolink.net in the address bar.
STEP-2: Enter admin for the password and then click LOGIN.
STEP-3: Click Quick Setup.
STEP-4: Time Zone setting. According to your location, please click the Time Zone to choose a correct one from the list, then click Next.
STEP-5: Internet Setting. Choose a suitable connection type from the list and fill in the information required, then click Next.
STEP-6: Wireless Setting. Create passwords for 2.4G and 5G Wi-Fi (Here users could also revise the default Wi-Fi name) and then click Next.
STEP-7: For security, please create a new Login Password for your router, then click Next.
STEP-8: The coming page is the Summary information for your setting. Please remember your Wi-Fi Name and Password, then click Done.
STEP-9: It takes several seconds to save the settings and then your router will restart automatically. This time your Phone will be disconnected from the router. Please back to the WLAN list of your phone to choose the new Wi-Fi name and input the correct password. Now, you could enjoy the Wi-Fi.
STEP-1: Connect your computer to the router by cable or wireless. Then run any Web browser and enter http://itotolink.net in the address bar. STEP-2: Enter admin for the password and then click LOGIN.
STEP-3: Click Quick Setup.
|
||||||||||||||||||||||
| 36 | T20 Quick Installation Guide | 2020-04-27 18:14 | |
|||||||||||||||||||
STEP-1: Find TOTOLINK_T20 or TOTOLINK_T20_5G on the WLAN list of your Phone, and choose to connect. Then any Web browser on your Phone and enter http://itotolink.net on the address bar.
STEP-2: Input admin for both User Name and Password on the coming page, then click Login.
STEP-3: Click Quick Setup on the coming page.
STEP-4: Internet Setting. Choose a suitable WAN Connection type from the list, and fill in the information required.
STEP-5: Wireless Setting. Create passwords for 2.4G and 5G Wi-Fi (Here users could also revise the default Wi-Fi name) and then click Next.
STEP-6: It takes several seconds to save the settings and then your router will restart automatically. This time your Phone will be disconnected from the router. Please back to the WLAN list of your phone to choose the new Wi-Fi name and input the correct password. Now, you could enjoy the Wi-Fi.
STEP-1: Connect your computer to the router by cable or wireless. Then run any Web browser and enter http://itotolink.net in the address bar. STEP-2: Enter admin for the password and then click LOGIN.
STEP-3: Click Quick Setup.
|
||||||||||||||||||||||
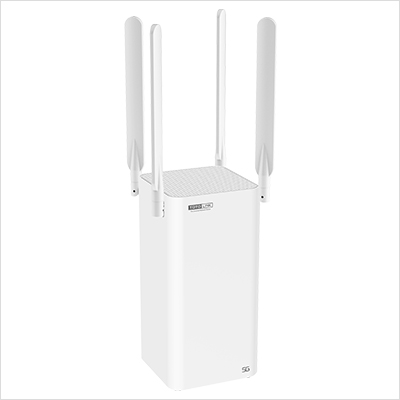
| 37 | A8000RU Quick Installation Guide | 2020-04-27 18:32 | |
|||||||||||||||||||
STEP-1:Connect your computer Turn on your router then use your smartphone to find and select 3 TOTOLINK_A8000RU_5G or TOTOLINK_A8000RU. Run any mobile browser. Enter 192.168.0.1 in the address bar.
STEP-2: Enter admin for the password and then click LOGIN.
STEP-3: Click Quick Setup.
STEP-4: Time Zone setting. According to your location, please click the Time Zone to choose a correct one from the list, then click Next.
STEP-5: Internet Setting. Choose a suitable connection type from the list and fill in the information required, then click Next.
STEP-6: Wireless Setting. Create passwords for 2.4G and 5G Wi-Fi (Here users could also revise the default Wi-Fi name) and then click Next.
STEP-7: For security, please create a new Login Password for your router, then click Next.
STEP-8: The coming page is the Summary information for your setting. Please remember your Wi-Fi Name and Password, then click Done.
STEP-9: It takes several seconds to save the settings and then your router will restart automatically. This time your Phone will be disconnected from the router. Please back to the WLAN list of your phone to choose the new Wi-Fi name and input the correct password. Now, you could enjoy the Wi-Fi.
STEP-10: More features: Click Application.
STEP-11: More features: Click Tools.
STEP-1: Connect your computer to the router by cable or wireless. Then run any Web browser and enter http://itotolink.net in the address bar. STEP-2: Enter admin for the password and then click LOGIN.
|
||||||||||||||||||||||
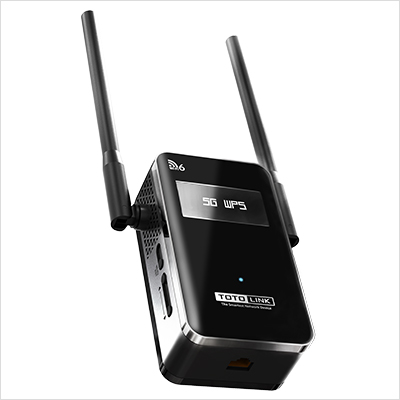
| 38 | How to login to extender by manually configuring IP? | 2020-04-27 15:26 | |
|||||||||||||||||||
STEP-1:Connect your computer Connect to the extender's LAN port with a network cable from a computer network port (or to search for and connect the extender's wireless signal). STEP-2: Assigned manually IP Address TOTOLINK extender’s LAN IP address is 192.168.0.254, please type in IP address 192.168.0.x (“x” range from 2 to 250), the Subnet Mask is 255.255.255.0 and Gateway is 192.168.0.254.
STEP-3: Enter 192.168.0.254 into the TOTOLINK extension in your browser. Take the EX200 as an example.
STEP-4: After setting up the extender successfully, please select Obtain an IP address automatically and Obtain DNS Server address automatically. Note: Your terminal device must choose to obtain an IP address automatically to access the network. |
||||||||||||||||||||||
| 39 | How to Find T10’s Serial Number and upgrade firmware | 2020-04-27 11:51 | |
|||||||||||||||||||
STEP-1:Guide for Hardware Version For most TOTOLINK routers, you can see two bar coded stickers underneath each device, the character string will begin with Model No.(T10) and end with the serial number for each device. See below:
STEP-2: Download Firmware Open browser, enter www.totolink.net. Download the required files. For example, if your hardware version is V2.0 , please download V2 version. STEP-3: Unzip the file The correct upgrade file name is suffixed with ”web”.
STEP-4: Upgrade Firmware ①Click Management->upgrade firmware. ②With configuration upgrade (if selected, the router will be restored to the factory configuration). ③Choose the firmware file you want to upload. Finally④Click Upgrade button. Wait for a few minutes while the firmware is updating, and the router will restart automatically.
Notice: 1. DO NOT power off the device or close the browser window while uploading as it may crash the system. 2. When downloading the correct firmware update, you'll want to extract and upload the Web File format type |
||||||||||||||||||||||
| 40 | How does use the TOTOLINK extender APP? | 2019-08-30 10:07 | |
|||||||||||||||||||
Application introduction: This document describes how to extend your Wi-Fi network using the TOTOLINK extender APP. Here is an example of EX1200M. Set up steps STEP-1: * Press the reset button/hole on the extender to reset the expander before use. * Connect your phone to the extender WIFI signal. Note: The default Wi-Fi name and password are printed on the Wi-Fi card to connect to the extender. STEP-2: 2-1. First, open the APP and click NETX.
2-2. Check Confirm and click NEXT.
2-3. According to actual needs, select the corresponding expansion mode (default: 2.4G → 2.4G and 5G). Here is an example of 2.4G and 5G → 2.4G and 5G (parallel): ❹Select expansion mode: 2.4G and 5G→2.4G and 5G (parallel) ❺Click the “AP Scan” option to search for the corresponding 2.4G wireless network around ❻Enter the extended 2.4G wireless network password ❼Click the “AP Scan” option to search for the corresponding 5G wireless network around ❽Enter the extended 5G wireless network password ❾Click the "Save Settings and Restart" button
2-4. Click “Confirm” in the prompt box that pops up, the extender will restart, and you will see the Wi-Fi name after the reboot.
STEP-3: After the setup is complete, you can move the extender to a different location.
FAQ Common problem 1.Band modes for switching frequency ranges
2.If I want to change the Extender to extend another Wi-Fi network within the range but cannot access its configuration page now, what should I do? A: Restore the Extender to its factory defaults and then start configuration as needed. To reset the Extender, stick a paper clip into the side panel “RST” hole and hold it for over 5 seconds until the CPU LED flashes quickly. 3.Scan the QR code to download our cell phone App for quick setup.
|
||||||||||||||||||||||


