FAQ is provided to troubleshoot your problem while using TOTOLINK products.
You can enter keywords to find solution to your issue. Search by entering Keywords and selecting a product
제품 사용 중 궁금한 사항과 자주 묻는 질문에 대한 답변을 제공합니다.
키워드 검색 또는 제품 선택을 통해 관련 내용을 확인하실 수 있습니다.


| NO | Title | Updated | Download | |||||
| 11 | How to Set DDNS Function on TOTOLINK Router | 2023-08-25 17:11 |  |
|||||
The purpose of setting up DDNS is: under broadband dial-up internet access, the WAN port IP usually changes after 24 hours. When the IP changes, it cannot be accessed through the previous IP address. Therefore, setting up DDNS involves binding the WAN port IP through a domain name. When the IP changes, it can be accessed directly through the domain name.
STEP 1: Follow the steps below to connect your router.
STEP 2 : Connect the computer to the router WiFi and enter "192.168.0.1" in the PC browser to log in to the web management interface. The default login password is: admin
STEP 3 : Set the network connection type to PPPoE, this step is to enable the router to obtain a public IP address
STEP 4 : Select Advanced Settings ->Network ->DDNS, enable the ddns function, then select your ddns service provider (support: DynDNS, No IP, WWW.3322. org), and enter the corresponding service provider's username and password. After saving, the domain name will automatically bind to your public IP address.
STEP 5: After everything is set up, you can open the remote management function for testing. By using a dynamic domain name and port, you can access the router management page even if it is not within the same local area network. If the access is successful, it indicates that your DDNS settings are successful.
You can also ping the domain name through the CMD of the PC, and if the returned IP is a WAN port IP address, it indicates successful binding.
|
||||||||
| 12 | How to configure the computer to automatically obtain an IP address | 2023-08-24 11:32 | |
|||||
When my computer is connected to my TOTOLINK router and cannot obtain an IP address, I can check if my PC is configured as a static IP by following these steps
STEP 1: Right-click the network icon in the lower right corner of the desktop, click to open "Network and internet settings"
STEP 2: Scroll down, find and click on Network and Sharing Center
STEP 3: Click on Ethernet
STEP 4: Point Properties
STEP 5: Find and double-click Internet Protocol 4 (TCP/IPv4)
STEP 6:
STEP 7: The page automatically jumps back to Ethernet and click OK |
||||||||
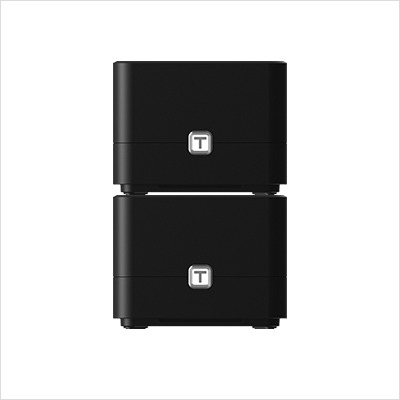
| 13 | How do two X6000Rs mesh with each other | 2023-08-22 10:56 | |
|||||
I bought two X6000Rs at home, how can I mesh them with each other and add them to a network to expand the coverage area?
STEP 1: Log in to the wireless router management page 1. We first power on both devices, and select one of them as the main device to connect the line. If you are not sure, you can refer to: How to enter the router settings dashboard interface. 2. The slave device only needs to be powered on
STEP 2 : Set MESH switch 1. Click on the easymesh project above 2. Click on Mesh Settings 3. Turn on the mesh switch 4. Select controller 5. Application
STEP 3 1. Click on the start MESH button. At the same time, press and hold the MESH button on the second device for 2 seconds, as shown in the following figure Ⅰ:Click on start mesh on the master device page
II: Press the MESH button on the slave device for 2 seconds, and the indicator light changes from flashing red to permanently lit blue
STEP 4 After completing the pairing, the MESH network layout is completed. You can replace the sub devices to the appropriate location to expand the wireless network coverage.
|
||||||||
| 14 | How to setup TOTOLINK Router on new versionApp | 2023-08-22 10:39 | |
|||||
This article introduces a wireless router compatible with TOTOTOLINK APP, using X6000R as an example
STEP 1: Follow the steps below to connect your router.
STEP 2 : Connect the mobile phone to the WiFi of TOTOLINK_X6000R, as shown in the figure below
STEP 3 Launch the Tether App on your phone
If there is no such APP, the Android device can download it through the Google play store, Apple devices can be downloaded through the IOS store 1. Android device
2. IOS device
STEP 4 Select your TOTOLINK wireless router from device list. Then Enter admin for the password and then click LOGIN.
STEP-5: Log in to Quick Setup (Auto jump Quick Setup is only Applicable for the first connection setup)
STEP-6: Quick Setup.
STEP-7: More features: Click Application or Tools.
STEP-8: Binding router, remote management.
|
||||||||
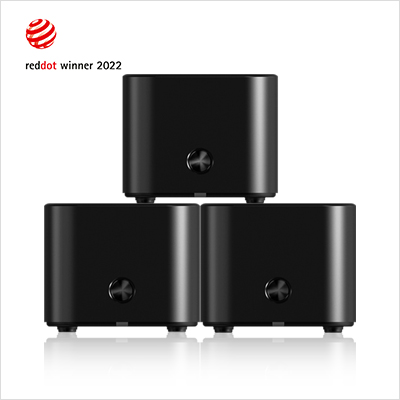
| 15 | How to unbind the two Mesh Router that have been bound by default | 2023-08-25 16:52 | |
|||||
I bought two pairs of TOTOLINK X18 (two packs), and they have been bound with MESH at the factory. How to turn the two X18s into four MESH networks together?
STEP 1: Unbind from the factory 1. Connect a set of factory-bound X18 to the power supply, and then connect the main device LAN (slave device LAN port) to the computer 2. Open the browser on the computer, enter 192.168.0.1, the default password is admin
3.Find Advanced Settings > Mesh Networking > Factory bound on the interface, as shown in the following figure.
After the progress bar is loaded, we complete the unbinding. At this time, both the master device and the slave device will be reset to factory settings.
4.Repeat the above operation for another pair of X18 STEP 2: Mesh Pairing 1.After the unbinding is completed, the four X18s work independently,We choose one at random, enter 192.168.0.1 through the browser, enter the interface as shown below, and turn on the mesh networking switch
2.After waiting for the progress bar to load, we can see that the MESH is successful. At this time, there are 3 child nodes in the viewing interface
If MESH networking fails:
2. Please confirm whether the four nodes to be meshed with each other are within the coverage of the X18 WIFI. You can first place the networked X18 master node attachment MESH configuration successfully, and then choose another location to place. 3. Please confirm whether the main device is connected to the network cable or click the mesh network on the page. If the MESH button is pressed directly, the network connection may not be successful. |
||||||||
| 16 | How to enter the router settings dashboard interface | 2023-08-22 09:57 | |
|||||
STEP 1: Connect the line according to the method shown in the figure below.
If you don’t have a PC, you can also use your mobile phone or tablet to connect to the router’ WiFi. The SSID is generally TOTOLINK_model, and the login address is itotolink.net or 192.168.0.1
STEP 2 : Log in to itotolink.net or 192.168.0.1 through a browser to enter the routing dashboard interface.
PC:
Mobile devices:
STEP 3 : Through the PC interface as follows:
Through the phone UI as follows:
If you cannot successfully log in according to the above methods, or your account password cannot be logged in normally, It is recommended that you restore the router to its original factory defaults and then operate again. |
||||||||
| 17 | How to set up the router to connect to the Internet | 2023-08-22 09:43 | |
|||||
STEP 1: Connect the broadband cable that can access the Internet to the WAN port of the router STEP 2: Connect the broadband cable that can access the Internet to the WAN port of the router The computer is connected to any LAN port 1, 2,3 or 4 of the router through a network cable, or wireless devices such as notebooks and smart phones are connected to the wireless signal of the router through wireless connection (the name of the factory wireless signal can be viewed on the sticker at the bottom of the router, and it is not encrypted when leaving the factory) ;
STEP 1: Find TOTOLINK_XXXX or TOTOLINK_XXXX_5G (XXXX is the corresponding product model) on the WLAN list of your Phone, and choose to connect. Then any Web browser on your Phone and enter http://itotolink.net on the address bar.
STEP 2: Enter the password "admin" in the next page and click Login.
STEP 3: Click Quick Setup on the coming page.
STEP 4: Select the corresponding time zone according to your country or region then click Next.
STEP 5: Select the type of network access, and select a suitable setting point according to the Internet access method provided by the network operator.
STEP 6: Wireless Setting. Create passwords for 2.4G and 5G Wi-Fi (Here users could also revise the default Wi-Fi name) and then click Next.
STEP 7: Set the login GUI interface administrator password, and click Next
STEP 8: On this page, you can view the network information set by the user, click Finish and wait for the router to save the settings. Then the router automatically restarts and disconnects. Please search for the wireless name you set in the WIFI list of your mobile phone, and enter the password to connect to the WIFI (hint: please keep in mind the information displayed on the configuration summary page, and it is recommended to save the screenshot to prevent forgetting.)
STEP 1: Connect your computer to the router by cable or wireless. Then run any Web browser and enter http://itotolink.net in the address bar.
STEP 2: Click Quick Setup.
STEP 3: Choose an internet connection method
STEP 4: IPTV is turned off by default and can be turned on if necessary. Please refer to the detailed settings for reference
STEP 5: Set wireless SSID and password
STEP 6: Set administrator password
STEP 7: Configuration Summary, Wait for the progress bar to load and experience the network
|
||||||||
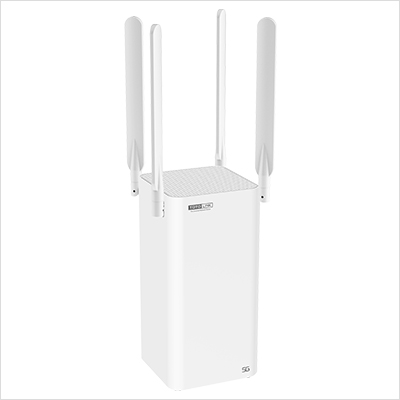
| 18 | A3700R Quick Installation Guide | 2020-08-27 17:32 | |
|||||
STEP-1: Activate the WLAN function on your Phone and connect to TOTOLINK_A3700R Or TOTOLINK_A3700R_5G . Then run any Web browser and enter http://itotolink.net in the address bar.
STEP-2: Enter admin for the password and then click LOGIN.
STEP-3: Click Quick Setup.
STEP-4: Time Zone setting. According to your location, please click the Time Zone to choose a correct one from the list, then click Next.
STEP-5: Internet Setting. Choose a suitable connection type from the list and fill in the information required, then click Next.
STEP-6: Wireless Setting. Create passwords for 2.4G and 5G Wi-Fi (Here users could also revise the default Wi-Fi name) and then click Next.
STEP-7: For security, please create a new Login Password for your router, then click Next.
STEP-8: The coming page is the Summary information for your setting. Please remember your Wi-Fi Name and Password, then click Done.
STEP-9: It takes several seconds to save the settings and then your router will restart automatically. This time your Phone will be disconnected from the router. Please back to the WLAN list of your phone to choose the new Wi-Fi name and input the correct password. Now, you could enjoy the Wi-Fi.
STEP-10: More features: Click Application.
STEP-11: More features: Click Tools.
STEP-12: More features: Click PC.
STEP-1: Connect your computer to the router by cable or wireless. Then run any Web browser and enter http://itotolink.net in the address bar. STEP-2: Enter admin for the password and then click LOGIN.
STEP-3: Click Quick Setup.
|
||||||||
| 19 | How to setup TOTOLINK Router on App | 2020-08-27 18:34 | |
|||||
Application introduction: This articles Applies to wireless router that’s compatible with TOTOLINK App. This article will take A720R as an example.
STEP-1: Follow the steps below to connect your router.
STEP-2: Connect your smart phone to TOTOLINK Wi-Fi. The default wireless network name of TOTOLINK wireless router are printed on the bottom label.
STEP-3: Launch the Tether App on your phone.
STEP-4: Select your TOTOLINK wireless router from device list.Then Enter admin for the password and then click LOGIN.
STEP-5: Log in to Quick Setup.(Auto jump Quick Setup is only Applicable for the first connection setup)
STEP-6: Quick Setup.
STEP-7: More features: Click Application or Tools.
STEP-8: Binding router, remote management.
|
||||||||
| 20 | How to use and set up IPTV on New User Interface? | 2020-08-27 18:48 | |
|||||
Application introduction: This article will introduce the configuration of IPTV function and will guide you to configure this function correctly. Note: If you have already accessed to Internet and IPTV function normally by default, please ignore this article, just keep the default settings of IPTV page. In this article, we will take N350RT as an example.
STEP-1: Log in the Web-configuration interface Connect your computer to the router by cable or wireless, enter http://192.168.0.1
STEP-2: Introduce of IPTV setting page On the left menu, go to Network->IPTV Setting.
STEP-3: We can see the configuration webpage of the IPTV Please keep the IGMP Proxy and IGMP version as default, unless your ISP told you to modify.
STEP-4: What’s the difference between different IPTV modes There are many “mode” available in the IPTV setting page.These modes are designed for different ISPs. In other words, the mode which you need to choice is up to your ISP.
Obviously, Singapore-singtel, Malaysia-Unifi, Malaysia-Maxis, VTV and Taiwan are designed for specific ISPs. They doesn’t need you to type in VLAN information, we just use this mode when ISP doesn’t require VLAN settings. User Define mode is used for some of the ISPs which require 802.1Q VLAN settings for IPTV service. STEP-4: What’s the difference between different IPTV modes If your ISP is singtel, Unifi, Maxis, VTV or Taiwan. Just select Singapore-singtel, Malaysia-Unifi, Malaysia-Maxis, VTV or Taiwan mode. Then you need not to type in any information more if you choose these mode, just click “Apply” to complete the configuration.Please refer to the steps below to configure this mode. Here I select Taiwan Mode, LAN1 for IPTV service as an example.
STEP-5: If your ISP is not in the list and needs VLAN settings If your ISP is not in the list and needs VLAN settings. Please select Custom mode and type in the detailed parameters manually. You need check the information to your ISP at first. Please follow the steps below to configure.
① Select Enabled to open up IPTV function. ② Select User Define mode ③ Then set LAN ports for different services. For example, here I select LAN1 for IPTV service. ④ The 802.1Q Tag and IPTV Multicast VLAN ID are up to your ISP. (Normally the 802.1Q Tag should be checked). ⑤⑥ Type in the VLAN ID for different services, the VLAN ID should be provided by your ISP. For example, if my ISP has told me that they use VLAN 10 for Internet service, VLAN 20 for IP-Phone service and VLAN 30 for IPTV service. And the priority need not to configure. ⑦click “Apply” to complete the configuration. |
||||||||


